Build & Install Raised Garden Beds
For the experienced gardener or the novice, raised garden beds take the hassle out of horticulture. Here are tips on planning, building, protecting and irrigating raised bed gardens.
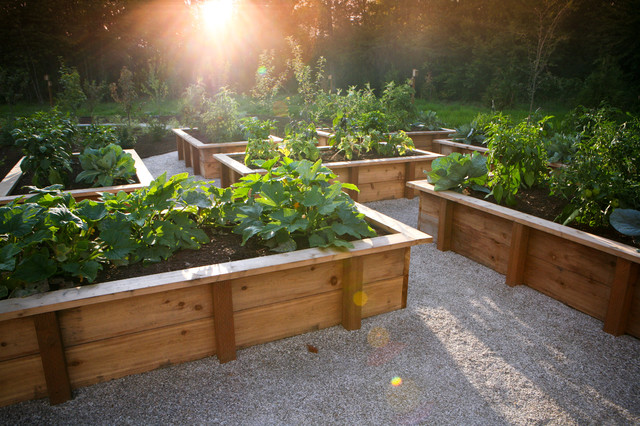
Bad dirt is out, because you fill a raised bed with a customized soil-and-compost blend. Drainage is built into the bed walls, which hold the soil in place to keep erosion in check. Greater exposure to the sun warms the bed, which allows more plant diversity and extends the growing season. Plants can be spaced closely together, so yields go up, water-use efficiency is maximized and weeds are crowded out. Finally, raising the soil level by even a foot reduces the back-bending effort needed for jobs such as planting, weeding and harvesting.
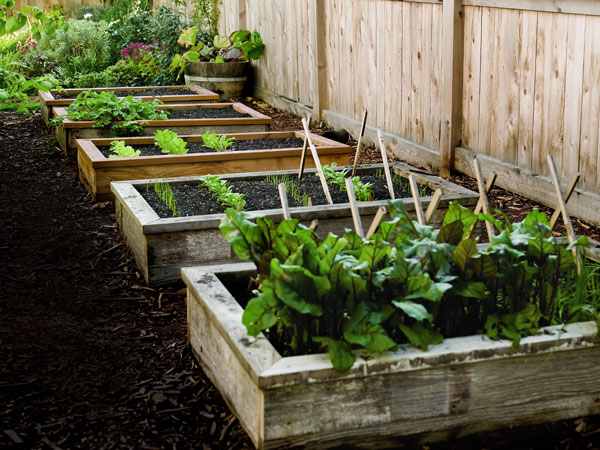
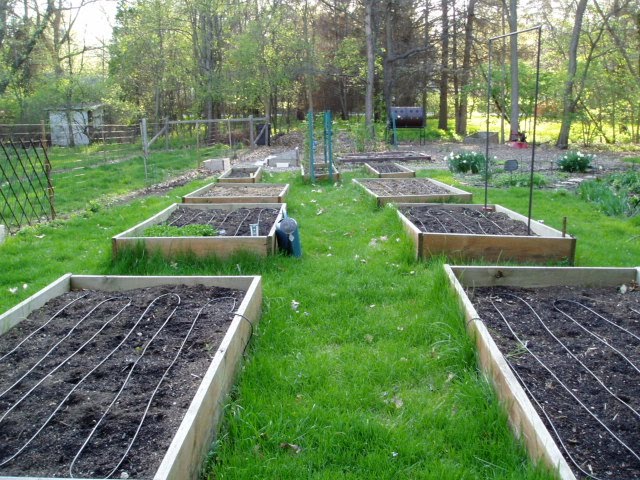
A 3 x 6-ft bed should be wide enough to support sprawling tomatoes, but narrow enough to reach easily from both sides. The ideal height is 1 to 2 ft tall—you can go taller, but you need a considerable amount of soil to fill a 3-ft-high bed. Don’t fill the bed with dirt from the garden. Instead, use peat moss, compost or a soil mix for planters. Use a 2 x 4 to level the soil, then plant. If possible, build more than one bed, which makes it easier to rotate crops and meet the watering needs of specific plants. Aligning beds in straight rows simplifies the installation of an irrigation system.
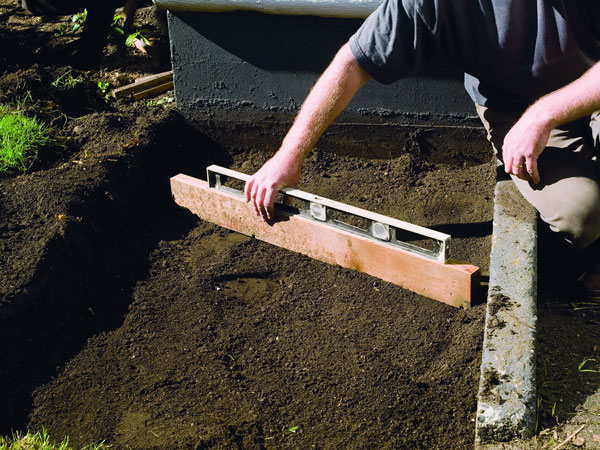
Finding a flat spot spares a lot of digging—you want the walls to be level. In general, a north-south orientation takes full advantage of available light. Stay close to the kitchen, but avoid sites shaded by the house or beneath messy trees. Leave at least 18 in. between beds for walkways, or 2 ft if you need room for a wheelbarrow or lawnmower.
To prepare the site, get rid of turf and weeds. Outline the bed dimensions on the ground with chalkline or string, then dig with vertical strokes along the outline, just deep enough to bury about half of your first course of lumber. Raised beds are designed so water trickles down, eliminating most of the problem of poor drainage.
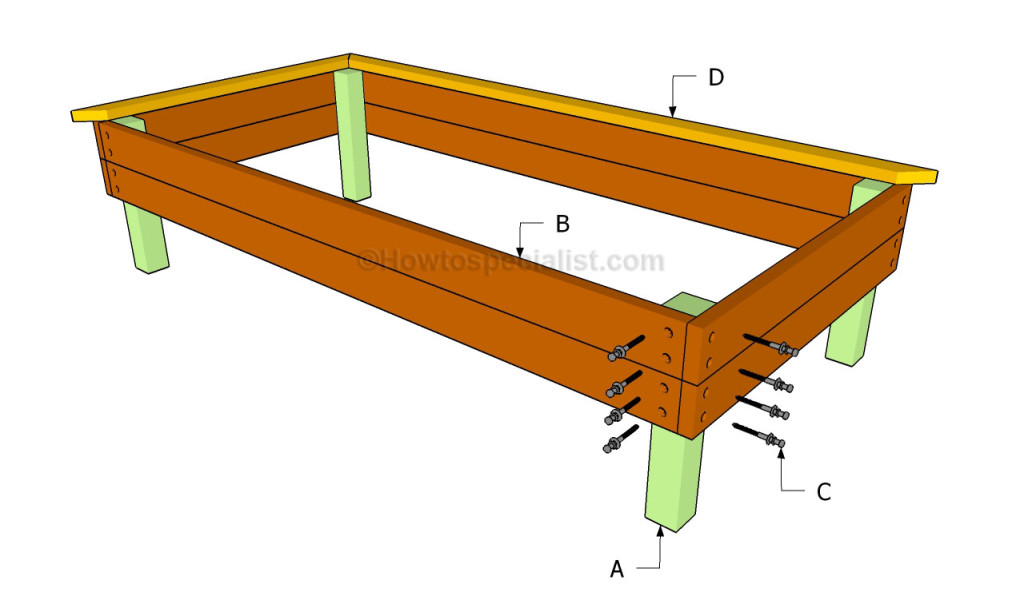
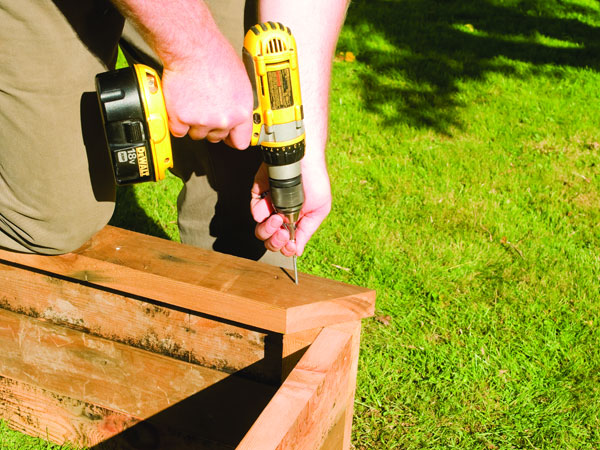
Build each wall separately, then fasten them together and put the bed into position. Raised-bed builders often sink posts into the ground for stability, either at the inside corners of the bed or halfway along the side walls. These help hold the bed in place, but can also reduce the outward pressure that a full bed exerts on the frame, which can dislodge the lumber after a single season. A cap railing that runs around the top of the bed ties everything together. Plus, it provides a handy place to set down gardening tools while working, or, when you’re done, a seat to admire the fruits of your labor. Bed covers ward off insects and keep plants warm in cool weather.
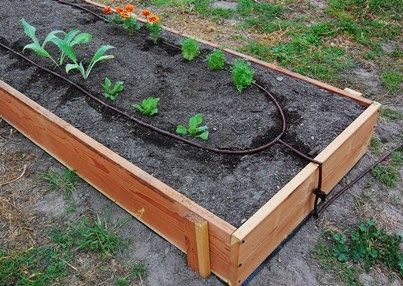
Once you add an automatic watering system to your raised-bed garden, you’re free to plant, weed and harvest. A simple micro-irrigation setup ensures that plants get water consistently—especially important for seedlings and leaf crops such as lettuce. The sides of raised beds heat up quickly in the sun, baking the moisture out of the soil. Irrigation delivers the water evenly and gently. You can set your timer to water early in the morning—less will evaporate, and you resist disease.
See my raised bed Inside my greenhouse