Cheap DIY Pallet Hose Storage & Pretty Planter
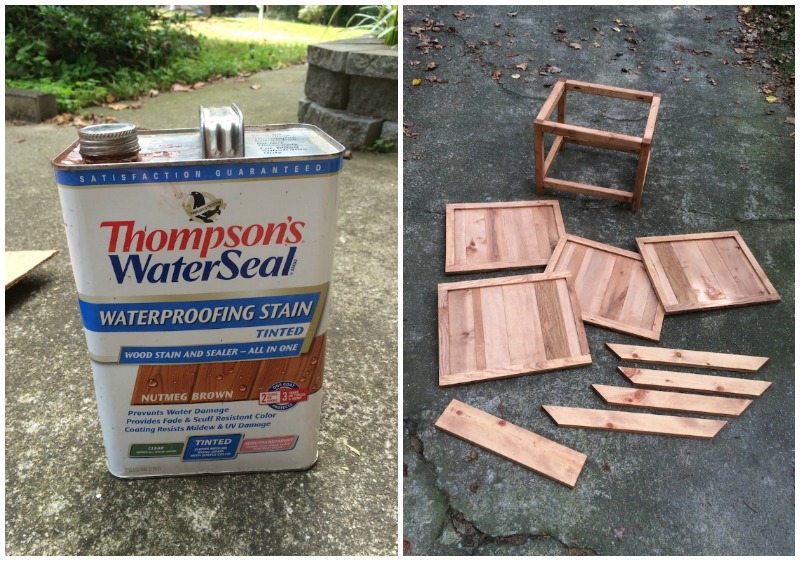
Before assembly, stain all your components. At least that’s what we did, because it was very easy to do it that way. Follow the instructions on your stain container for best application. Let dry.
Then start assembling your hose caddy!
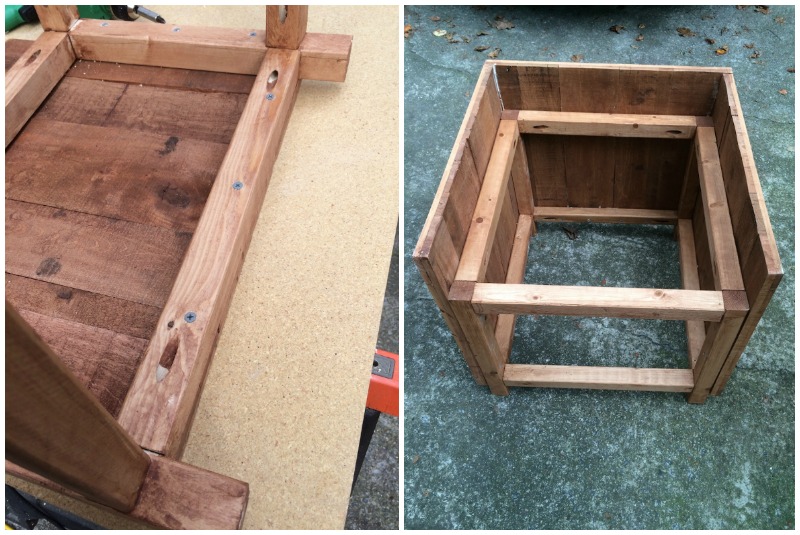
Decide which side is the front. On the other three sides, glue the panels on and then screw in with 2″ wood screws. Let the wood glue dry.
On the front, glue in your panel.
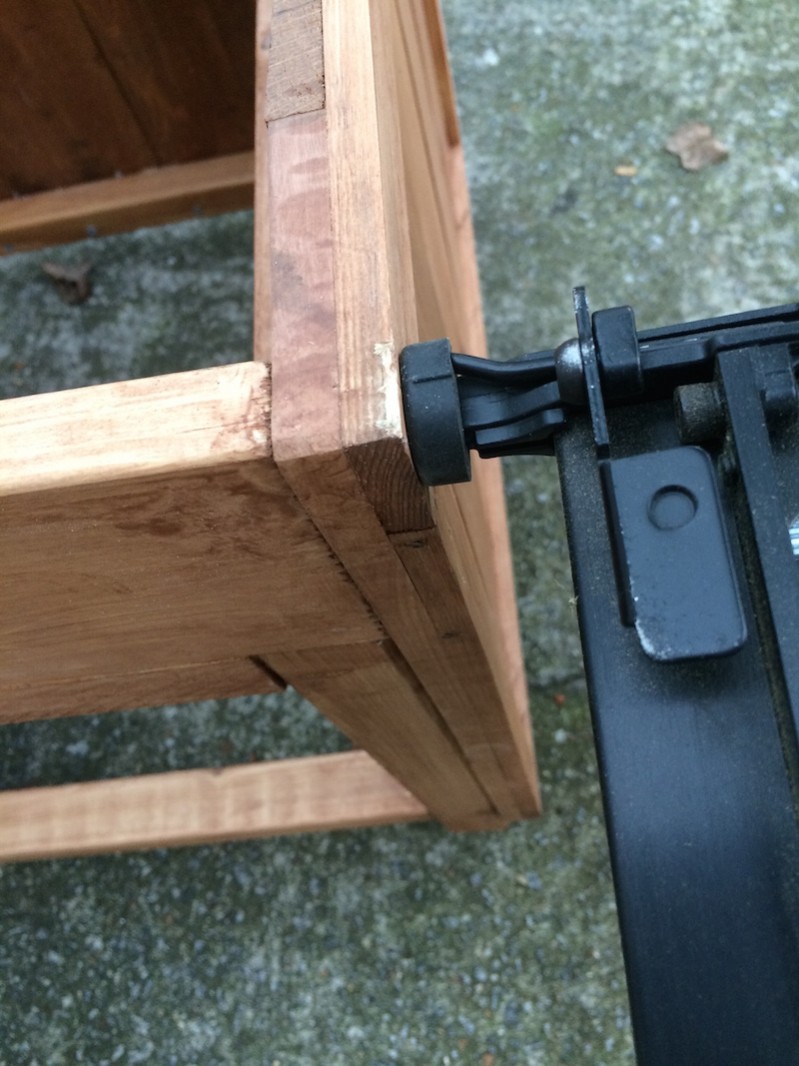
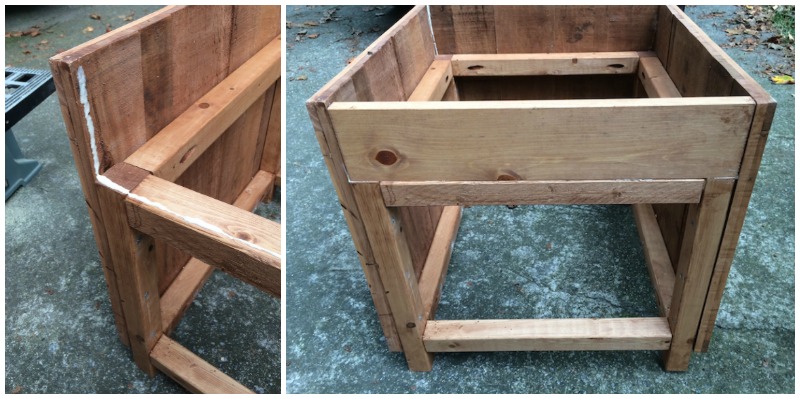
Add a little nail gun action to the sides to secure. Let dry.
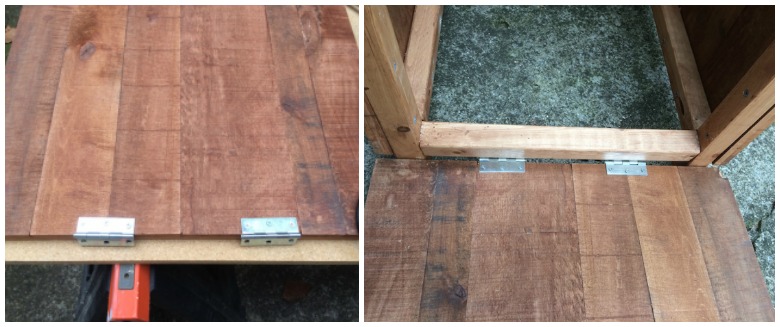
Attach the hinges to the last panel. Attach these hinges to the hose holder.
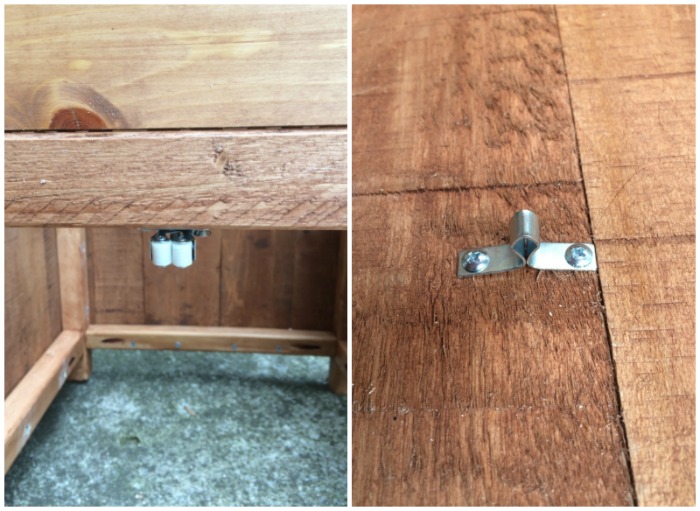
Attach the female part of the door latch to the top of the door opening in the center. Attach the male part of the door latch to the corresponding spot on the inside of the front door. Attempt opening and closing before securing down completely!
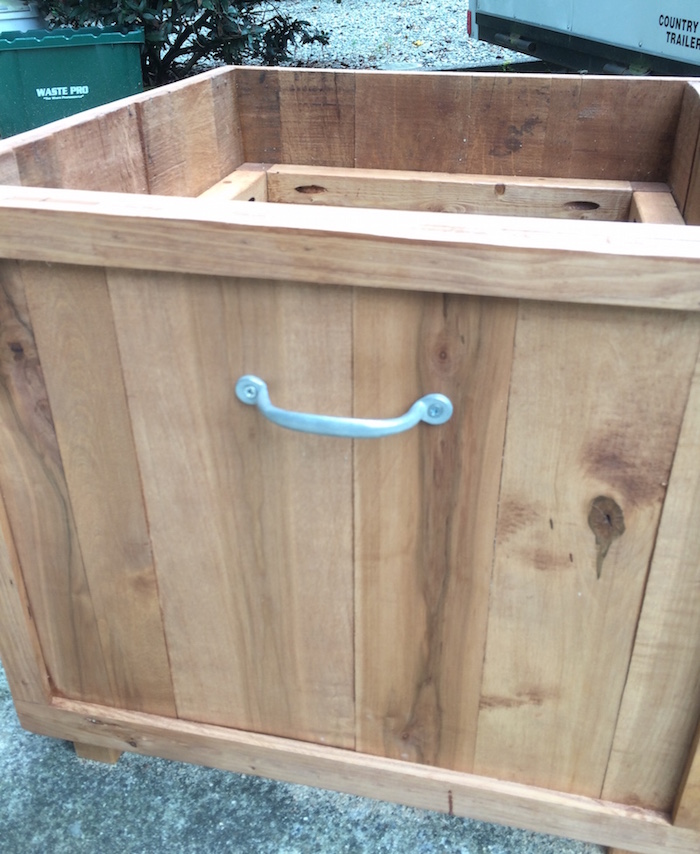
Attach a handle to the front of the door.
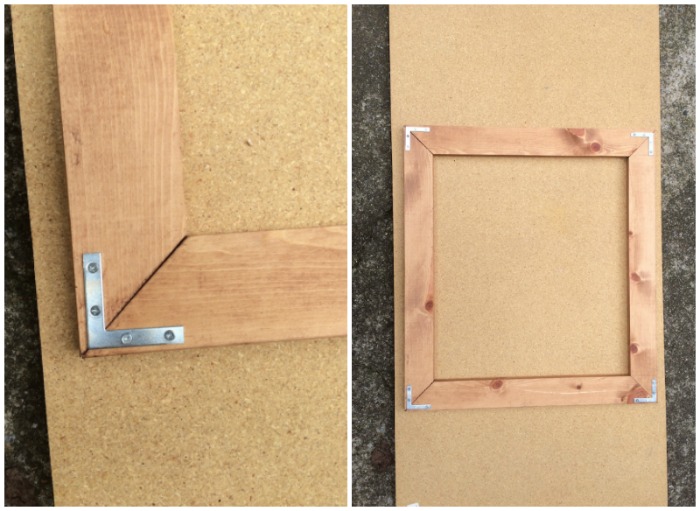
Secure the remaining pieces of wood together with your four L-brackets (packets come with screws).
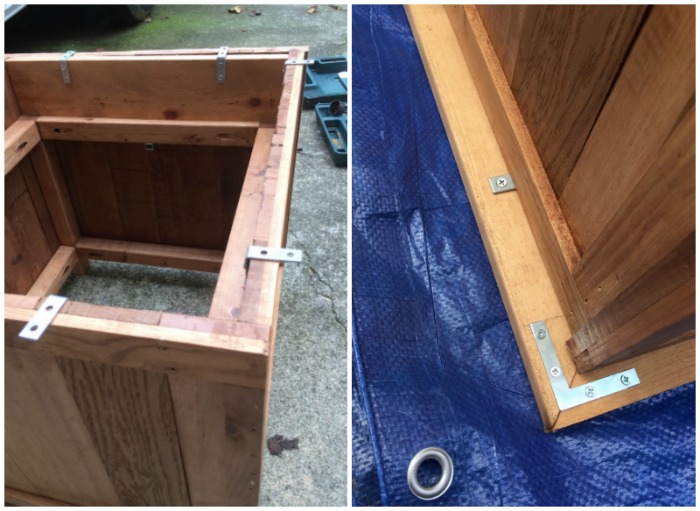
Attach eight right angle brackets (two on each side) to the panels of your hose caddy as shown above on the left (brackets come with screws). Flip the entire holder over and center it on the frame held together by L-brackets. Screw the right angle brackets into that top frame. Our packets came with screws and those were the ones we used.
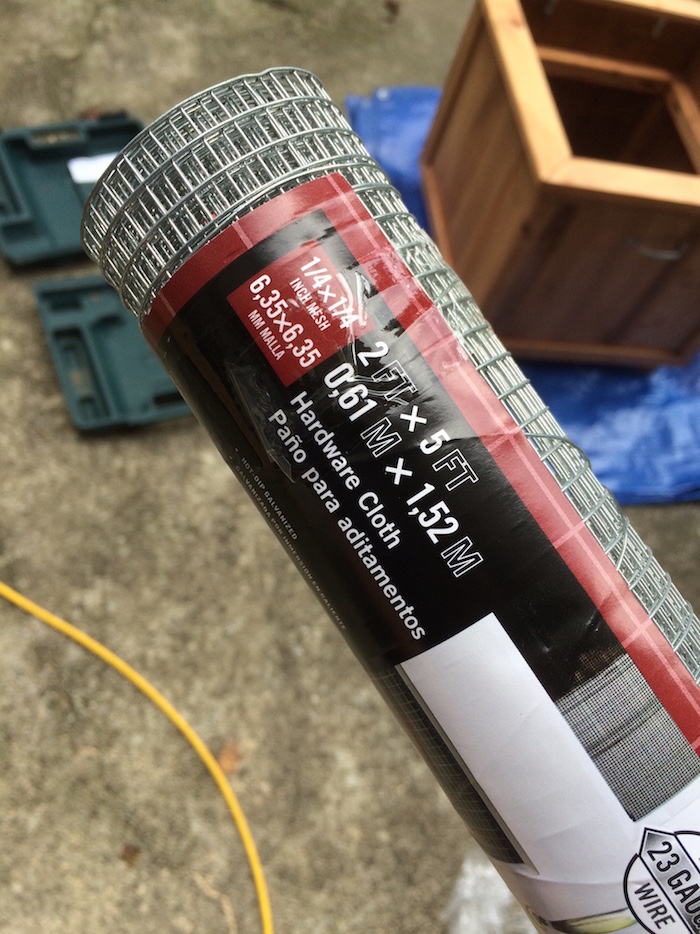
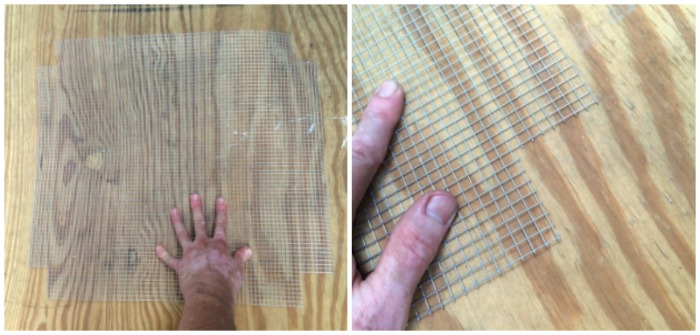
Cut two pieces of ¼” mesh hardware cloth into 18.25” x 20” sheets. Cut 2” out of all of the corners of one piece – this will be the inside bottom. The uncut piece will be the inside top.
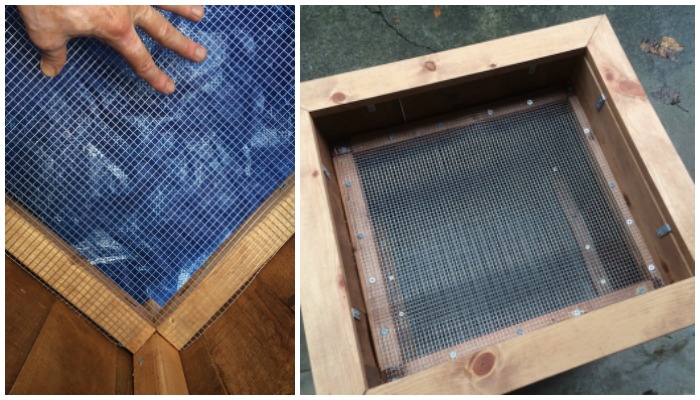
Take the piece of hardware cloth with the corners cut and place it in the inside bottom. Use ½” wood screws to attach it. Do the same with the uncut piece on the inside top.
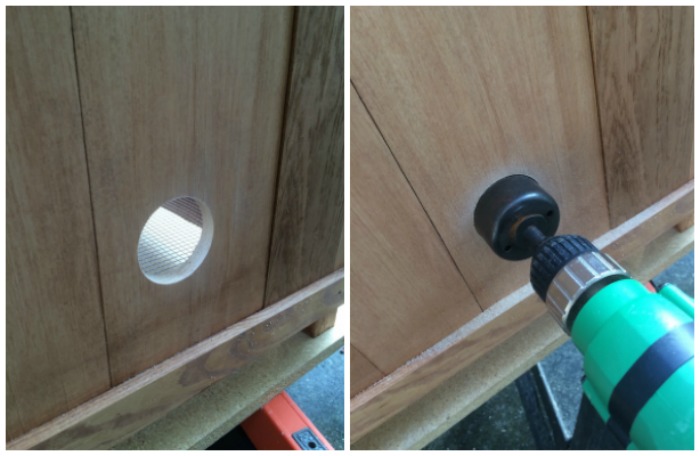
Use a doorknob hole jig to drill out a hole in the center of the lower back panel; this is where the hose will come through.
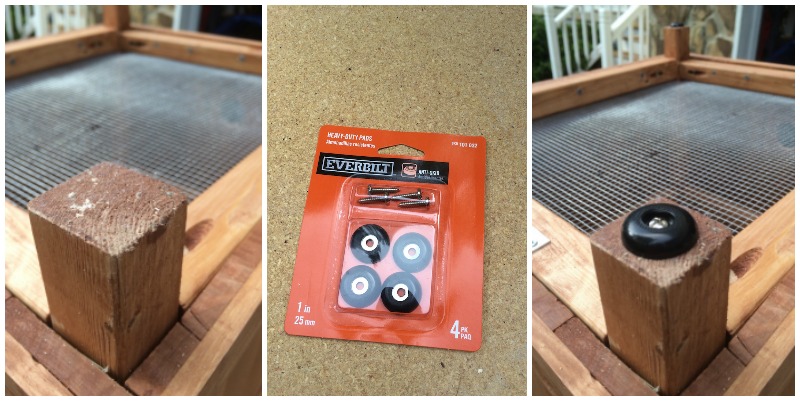
On the bottom of the feet, use heavy duty plastic foot pads if it is going to sit on a driveway or other paved surface. It will also keep the feet from sitting directly in water.
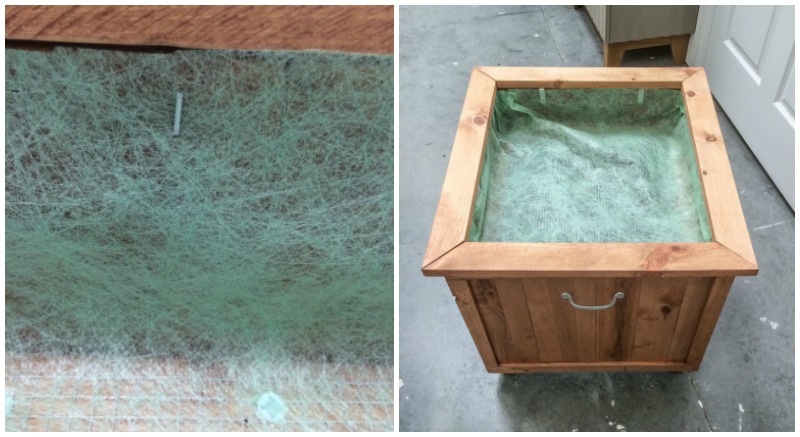
Take landscaping cloth, cut it, and staple it on top of the top piece of hardware cloth. Use two layers and be sure to cover the sides as well.
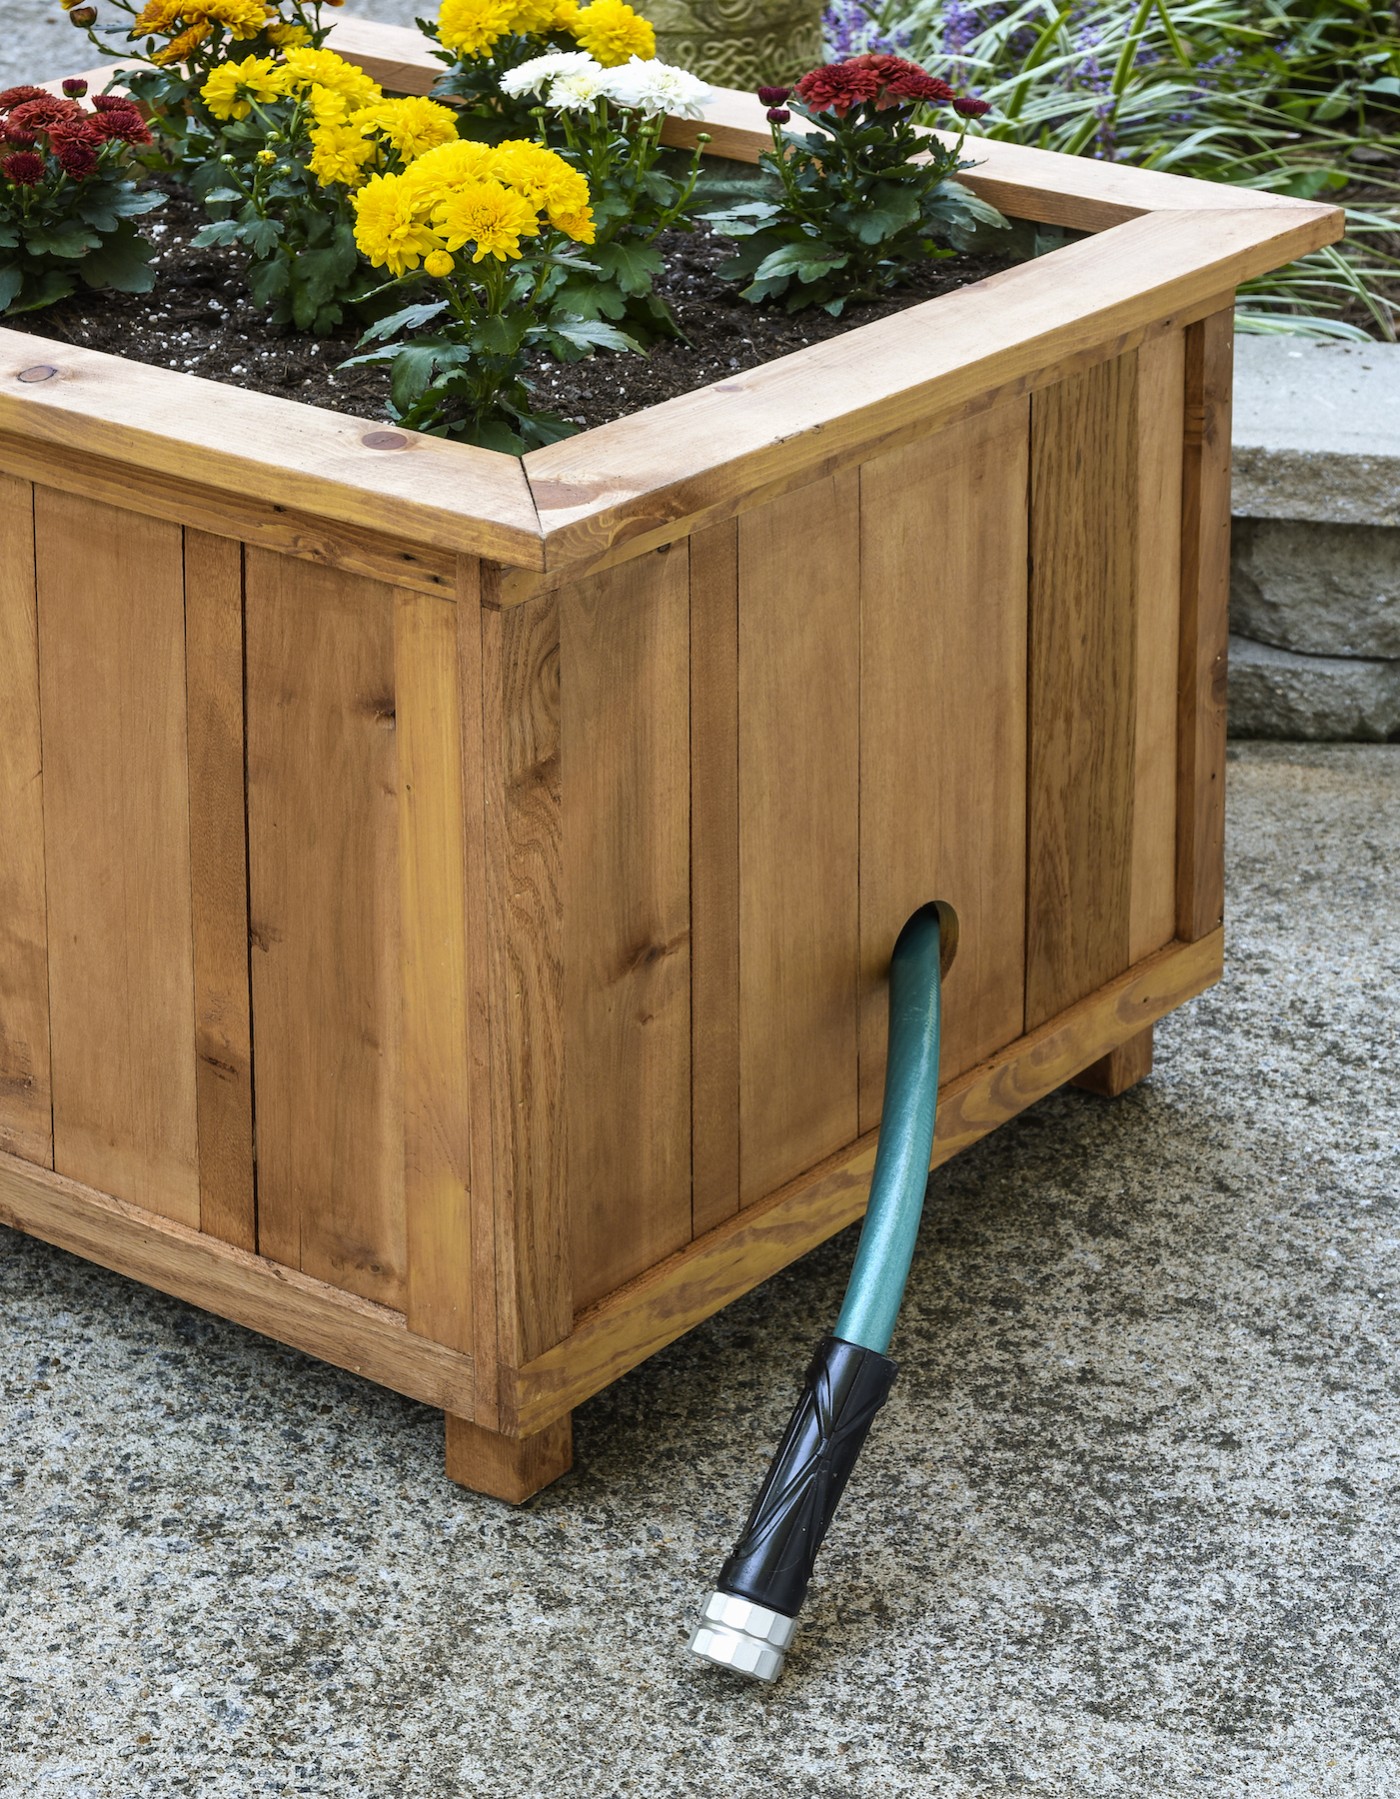
Plant your plants! I didn’t include those supplies in the list because what you plant is up to you.
Isn’t it wonderful? Here’s the back.
Source: DIY Candy
Comments are closed.